Here are the steps to set up your Secure View Camera in the myQ app:
- Log into your myQ account.
- Tap the “+” icon located in the lower right corner.
- Select “Device.”
- Tap on “Video Solution.”
- Choose the “Secure View Camera” option.
- If the “Secure View Camera” option is not available, please refer to additional instructions.
- On the Camera Setup screen, tap “Ready.”
- Review the information on the “What You Need” screen and tap “Next.”
- If Bluetooth is disabled, a prompt will appear asking you to enable it.
- Proceed to the “Open Camera” screen and tap on your Camera from the “Discovered” devices list.
- Select your home’s Wi-Fi network name from the provided list.
- Enter your network password and tap “Next.”
- Give your camera a name and tap “Finish.”
myQ camera setup error
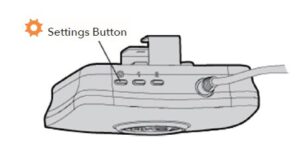
myQ camera setup
Here are some troubleshooting steps for two common issues related to the myQ camera setup Hub:
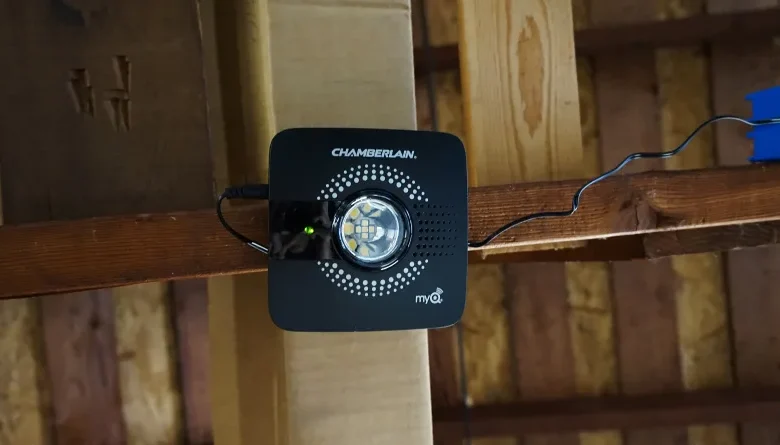
No power to the myQ Hub (myQ Garage, Smart Garage Hub, Smart Garage Control):
- Ensure that your device is connected to a functioning power outlet.
myQ Hub not connected to the router:
- Unplug your router or modem from the power outlet.
- Wait for 10-15 seconds.
- Plug the router or modem back in.
Read More:
- How do I Track My Location on My iPhone with IFTTT?
- How to Mount Blink Outdoor Camera: We’ll Show You How
- Best Blink Security System: Blink XT 5 Camera System
- Best Blink Camera Outdoor by Blink for Home: Easy to Set Up
- Liftmaster myQ Camera Setup: 2 Best Options
- How to Add myQ to Homekit without Bridge in 2 Best Ways
- Liftmaster myQ battery Replacement CR2450 Process